

Hi everybody!
This time we wanted to share with you the process of developing a game from scratch. In each game we develop we go through these six steps:
1. Idea
Probably the most important part of the process. We need to have a good idea if we want other people to enjoy our games. There are a few games that did very well even though they had no graphics or sound, only a good idea.
But where do we find ideas?!
We get inspiration from different mediums: books, movies, photos, buildings.
Sometimes we can get inspired by a trip to the local museum, or going for a long hike in nature.
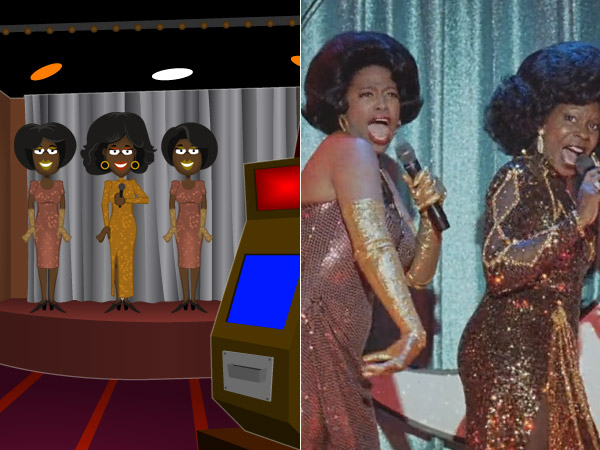
We got the inspiration for the dancers in The Proposal from the movie Sister Act
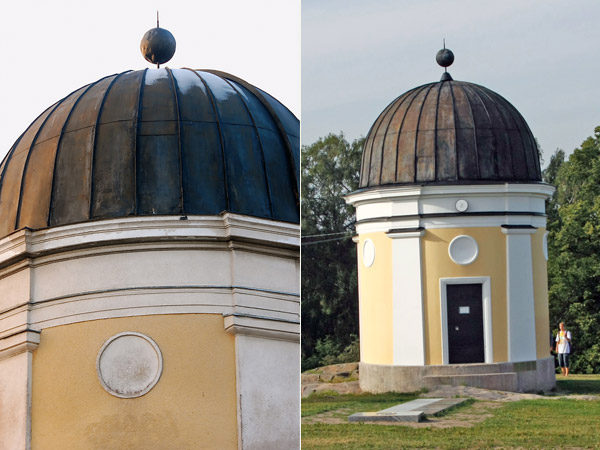
The observatory at Kaivopuisto Park, Helsinki, Finland. You’ll see it in one of our upcoming games.
Photos by Chris Michaels and Islandjoe
Okay, We’ve got an idea. Whats next?
Now we need to write the entire gameplay. How many characters will be in the game? Which places will the player go to? Which items will the player find and how will he use those items?
This is Probably the most difficult part in the making of an adventure game, because you don’t want the game to be too difficult nor to easy. You must also keep on common sense. The player doesn’t need to guess that he should use the apple on the TV to turn it on…
Also, you don’t want to repeat yourself: How many times can you use dry leaves and flint to light up a fire?! It’s also always good to add some humor to the game so the player won’t get bored.
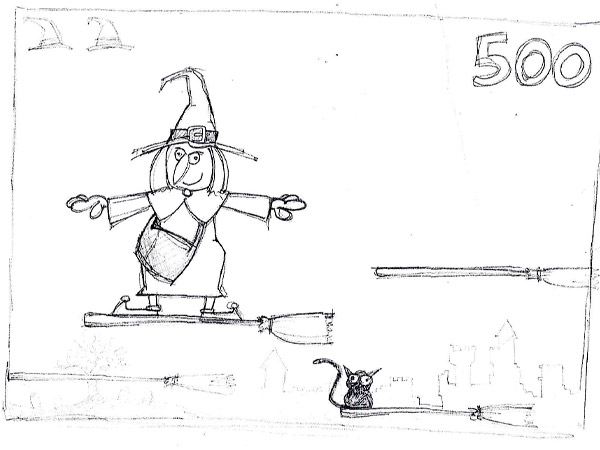
Our first game sketch ever, somewhere around 2008.
2. The graphics
This is the stage in which we start drawing sketches for the characters and the backgrounds. A lot of times we don’t use some of the final characters or backgrounds we draw, for several reasons, but we always keep them all because we might use them someday in the future.
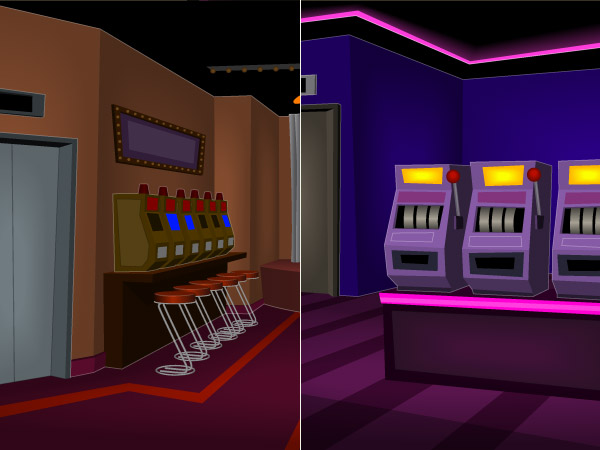
On the left: Casino sketch for The Proposal. On the right is the final background.
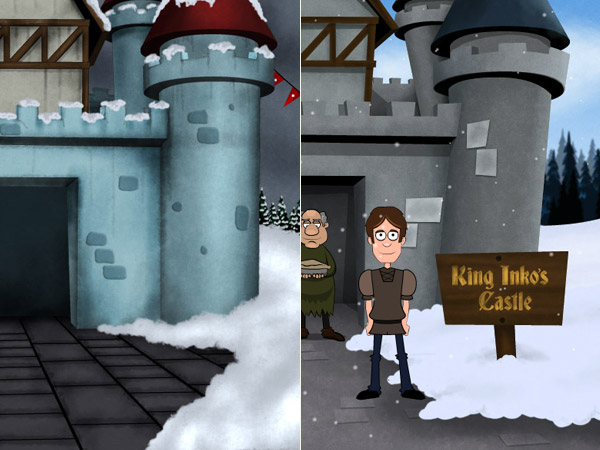
On the left: Castle sketch for Back In Time. On the right is the final background.
3. Programming
Now it’s time to put all of the graphics together and start writing the game’s code.
It looks something like this:
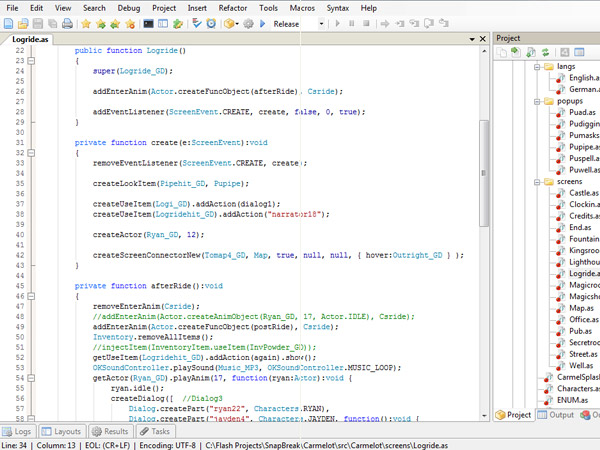
One of the screens in “Tales of Carmelot”, you can see all the other ones on the right of the screen
And to some may look something like this:
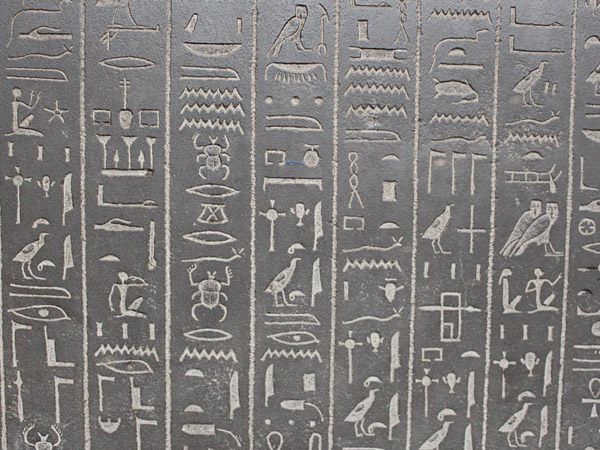
Photo by Danny Nicholson
4. Testing
Once we have the first version of the game ready we test it to make sure that there aren’t any errors and bugs in it. We send this version packaged in a special translation system to our translators from all over the world who translate the game voluntarily. We also send it to our voice actors.
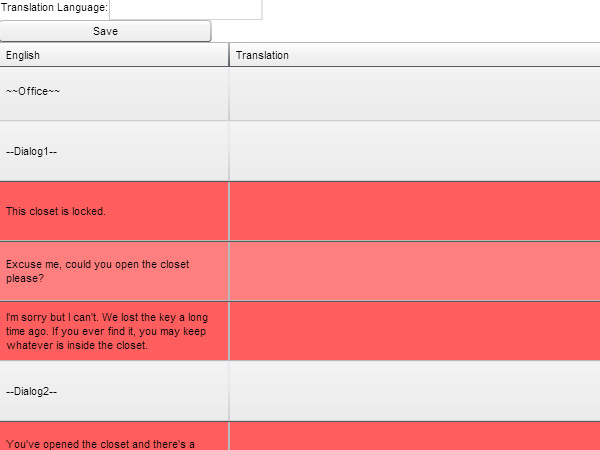
Our translation system
5. Final adjustments
In this final step we fix all of the game’s errors and bugs and add the translations, voice over, music and sound effects. We also encrypt the game so it won’t get hacked or stolen.
6. Publish the game!
Now it’s time to release the game, lay back and enjoy, knowing that your game is making so many people happy.

🙂
We hope you all enjoyed this post. Tales of Carmelot will be released in a few days (we are currently on step five, waiting for the voice over files to arrive).
See you soon!


